
Hey y’all,
Our raised beds are finally complete! When I say finally, it took us about 3 weekends, but it felt like forever. I’ll be honest- it was a LOT of hard work, and it cost more than we anticipated. However, that is all entirely our fault. We went a little overboard, but we couldn’t be happier with it. It feels like it’s been in the yard this whole time!

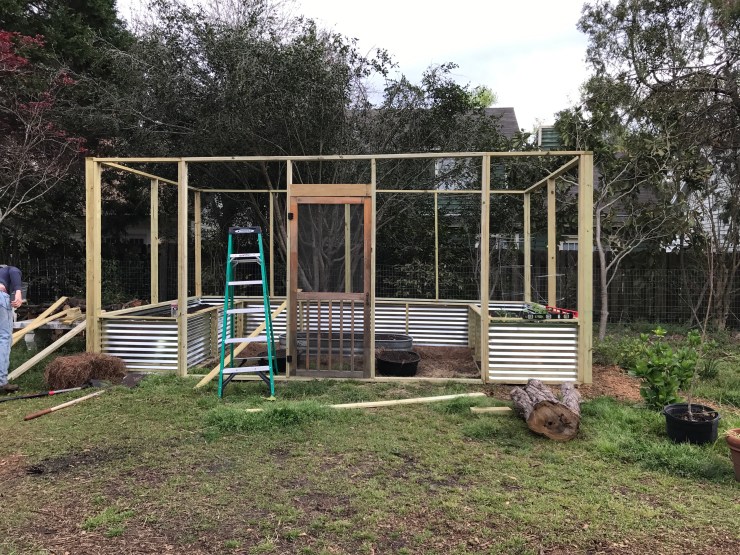
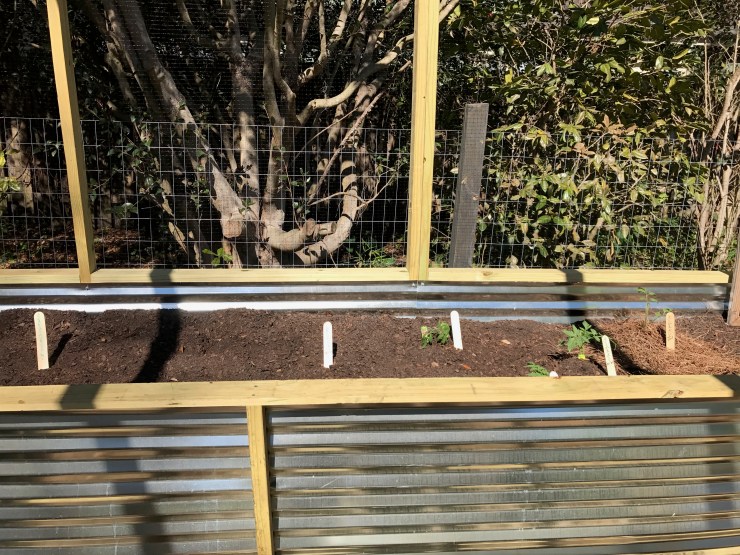
I didn’t do a great job at taking step-by-step pictures, but I’m not a builder so I couldn’t adequately describe the cuts or know the number of screws, etc. it all required anyway. Rest assured, husband wasn’t counting it for me. But, the first thing we did was measure our space about 10 times. Then, we priced out different materials. We initially thought of using cinderblocks for the beds, but when we did a price comparison, corrugated metal and the wood for framing were actually about the same. We thought this would match our style more, so we went with it. There was a root system from a cedar tree that fell during Hurricane Matthew that husband had to tackle, but you can see that he clearly won that battle from the root carnage in the above picture. After all was said and done, we have a 20 ft long by 12 ft deep structure with 4 ft wide beds.

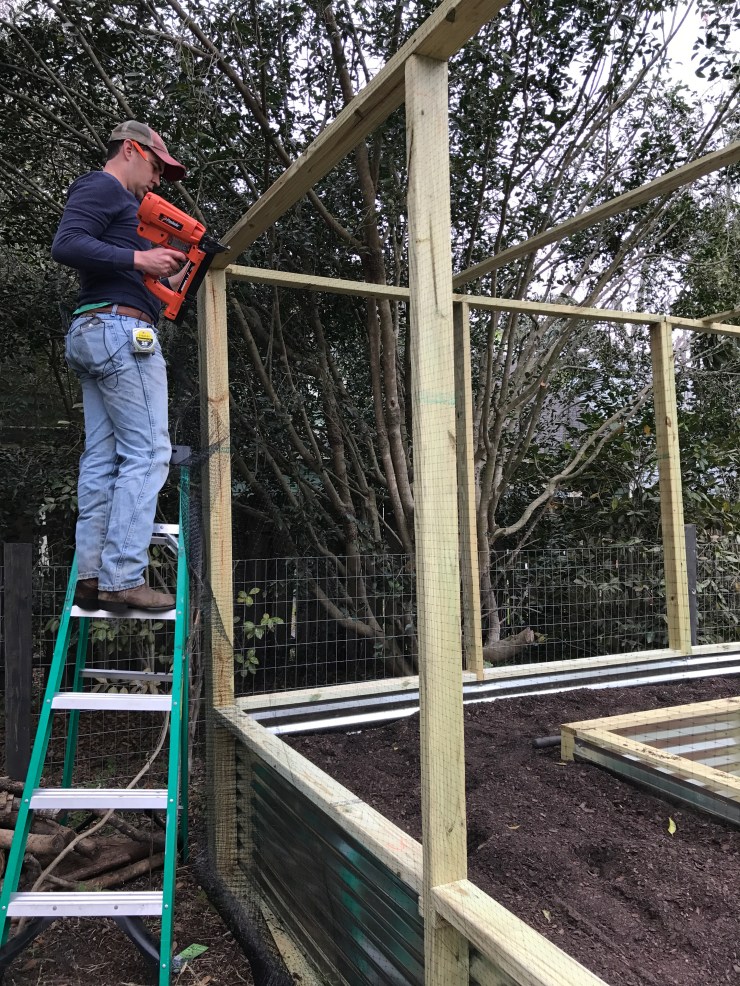
I like to research things before we jump into them, so in all of my raised bed searching, I became well aware of how big of a NO-NO it is to use treated pine for them. The chemicals can leak into your veggies and you may die. (Just kidding. Not sure it’s that potent.) We wanted to used treated pine though. It’s way more affordable than cedar and will last a good while. Our solution was to line the beds with the corrugated metal roofing. No part of the soil or vegetables touches the treated pine. I was also concerned about wildlife enjoying the fruits (or in this case, veggies) of our labor, so we decided to frame out walls and a ceiling. Husband didn’t feel like making all the cuts to make the walls shorter, so we have a very impressive structure with 8 ft ceilings. We went round and round about what to wrap it in. I wanted bird netting. He wanted chicken wire. Here he is stapling bird netting up. 😉 It was much much cheaper than chicken wire, and from everything I read is a perfectly humane and safe to keep wildlife out. It is a pain to get up though… It tangles all over itself and any sticks or debris on the ground. It’s nearly invisible to us, so it kind of looks like we built this giant thing for no reason. **Update: Squirrels and rats took advantage of my frugalness and invited themselves in to eat all of our tomatoes and watermelons… This Spring, we’ll be wrapping it chicken wire.
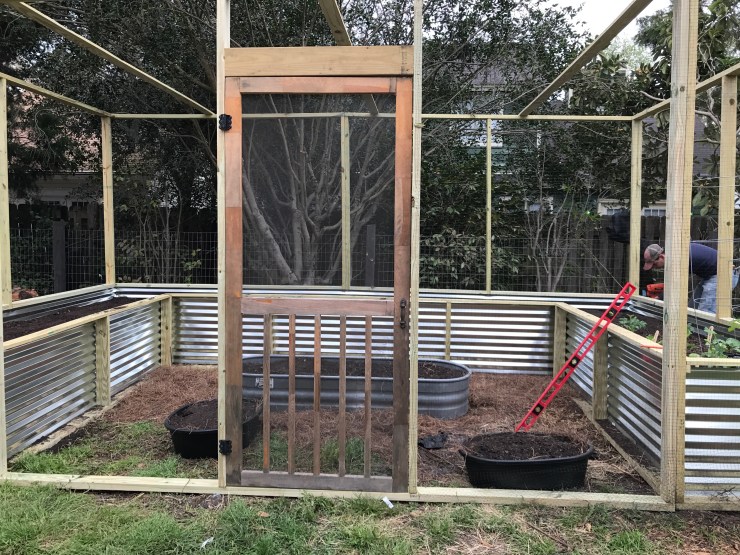
We had an extra screen door lying around from our old house. It was the perfect solution for the door.
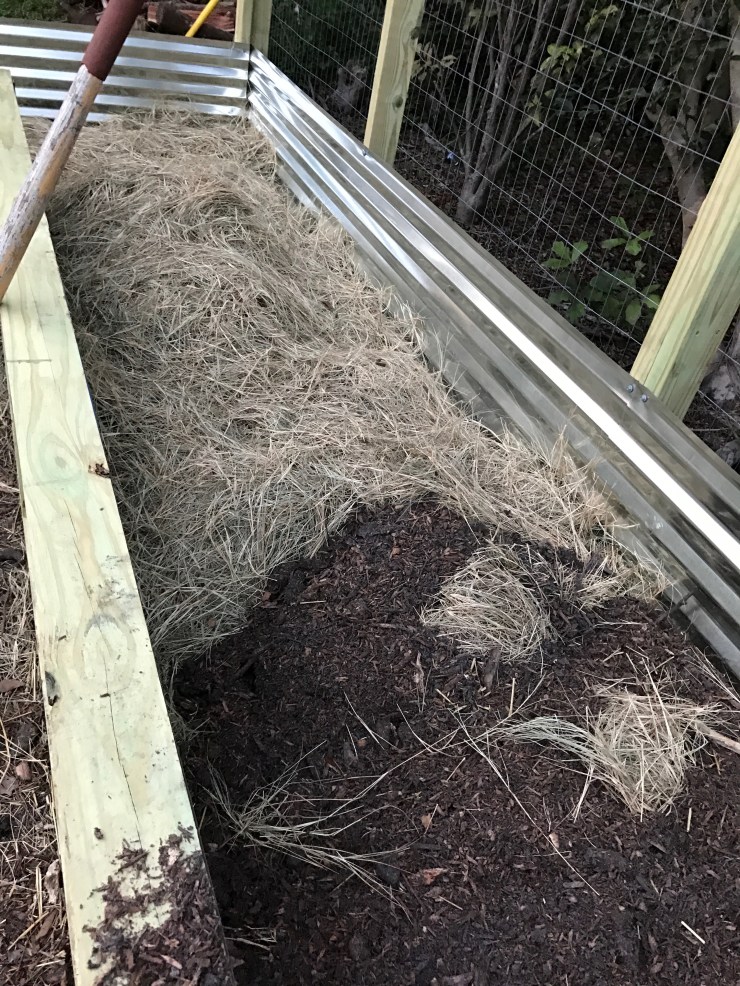
Well, I wanted the beds to be tall so that we didn’t have to lean way over to tend to the garden or weed. This came with its own set of difficulties that I didn’t really think through in the beginning. You have to FILL these… I think they came out to about 26 inches tall. (24 inch metal pieces on top of a 2×4) I read about lasagne gardening, and I think we did our own variation of this.
1st layer: landscape fabric
2nd layer: cardboard (we had it lying around so why not add extra extra weed protection)
3rd layer: straw (took 3 bales)
4th layer: logs leftover from downed trees from the hurricane (this was to add height & drainage)
5th layer: manure compost (this was the hardest part because we had to haul the compost over 2 acres from our composting site in our woods. it took about 16 wheel barrows full.)
side note here: We were so tired after layer 5 that we figured it was time for soil, so off we went to Savannah Victory Gardens to get our trailer full of soil. (I can’t remember the exact size of the load, but it filled our whole flatbed trailer and was only $60!) We came home and unloaded the soil into the bed, and guess what. It only filled one side of the entire thing. I thought about crying. We were so tired. We regrouped and did the next two layers on the remaining parts of the bed and got more soil the next weekend. This time, an entire trailer full filled the 20 ft side and the other 12 ft side.
6th layer: hay (took 1-2 bales- we just had it lying around and didn’t feel like going to the store for straw)
7th layer: mulch (again leftover from stumps ground from the hurricane)
8th layer: SOIL!
Husband joked that I would now need a ladder to actually pick the veggies when they’re ready. He may be right…


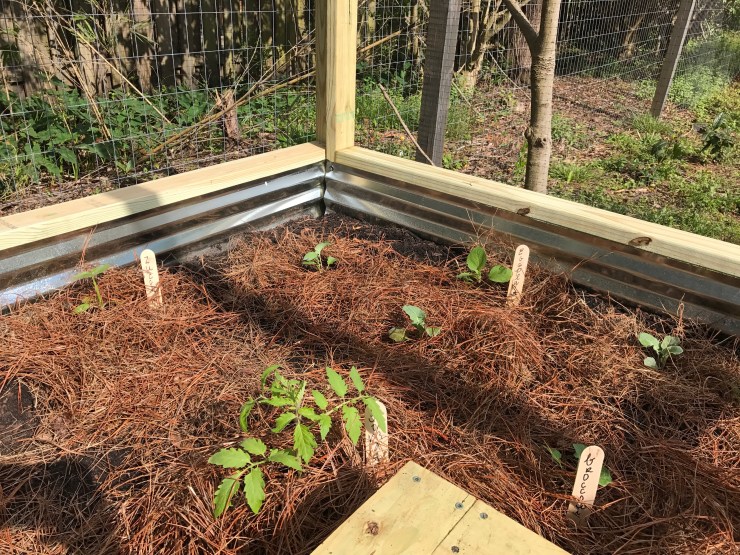
Of course after we got half of the beds planted, Savannah had its second freeze of the year… in the middle of March. I was so nervous we were going to lose the veggies that I covered them all with pine straw and tarps during our unseasonably freezing weather. They survived.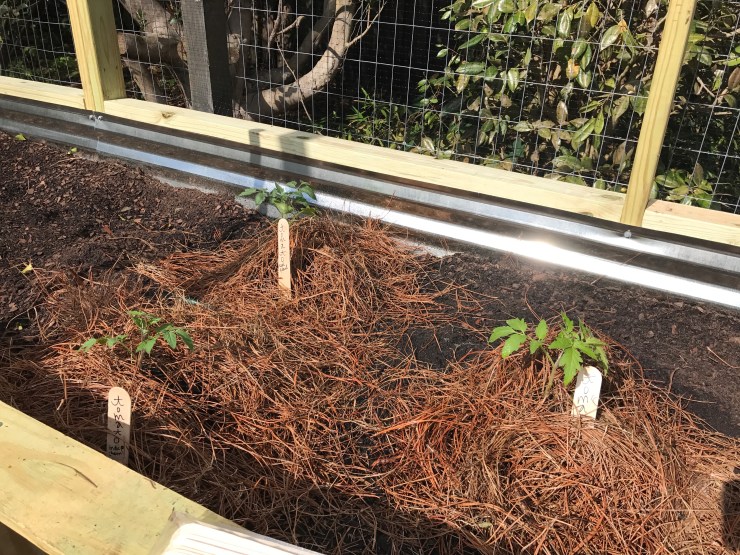


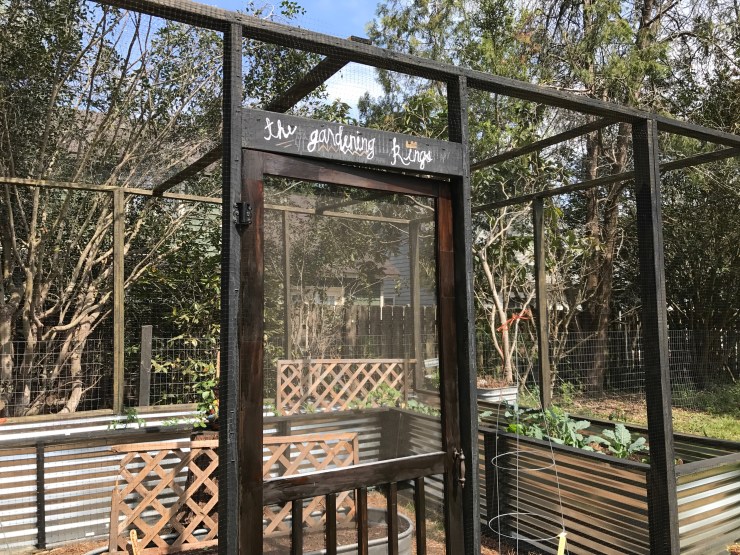
I thought that piece of wood above the door was the perfect size for a sign. I was thinking of a play on words like “Lettuce Grow,” but husband came up with “The Gardening Kings,” a little play on our last name. I used metallic paint pens to draw it. I may redo the word gardening because it was at that point my paint pen decided not to cooperate being sideways. We’ll see if we actually become kings of this garden.
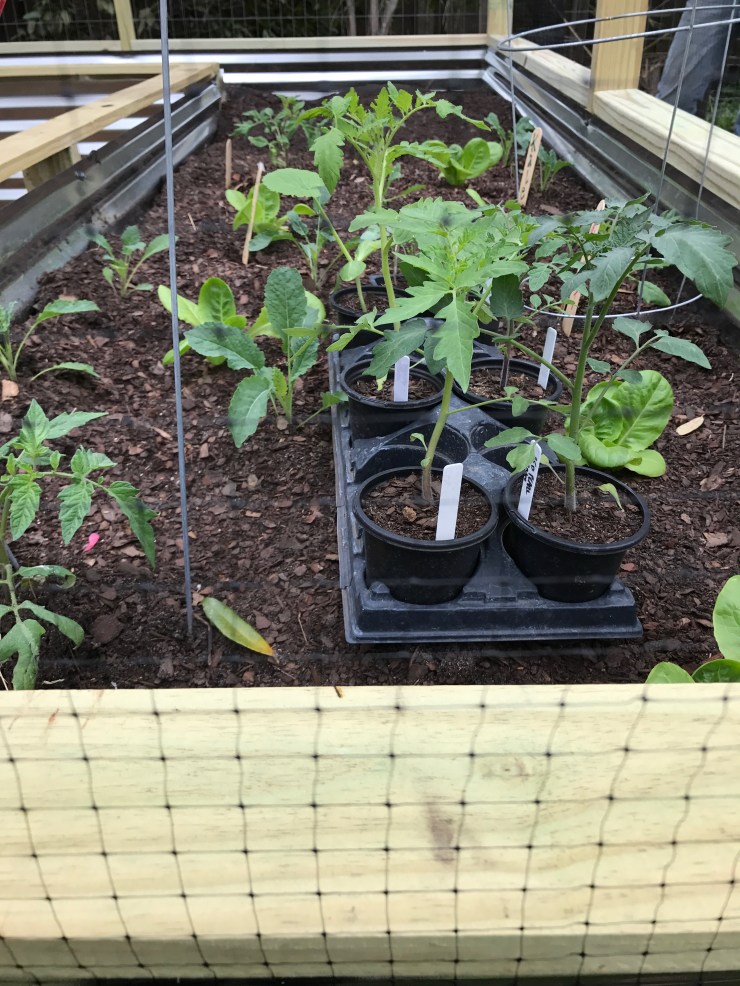
The overall project costs us about $600 when you factor in all building materials, all filler materials, plants and all. It’s truly beautiful. I find myself staring at it sometimes from the window, and I check on our seedlings, weed and prune if necessary 3x a day. We go out together in the evening and converse over its evolution from the previous day.
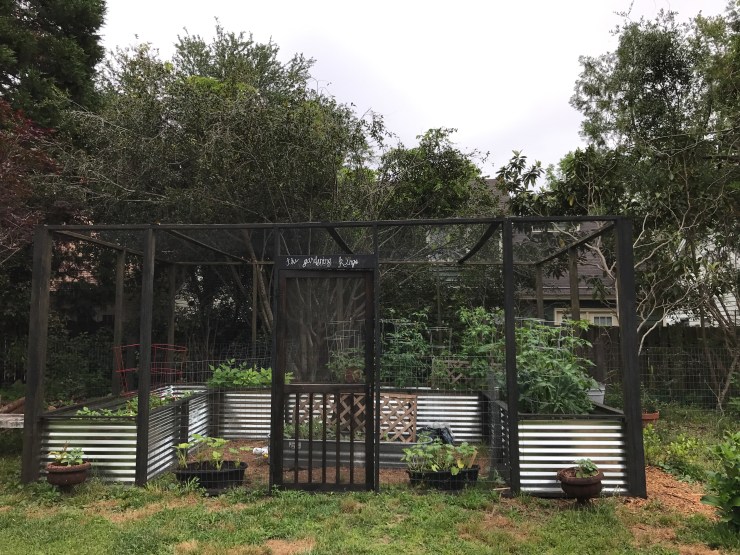
It’s such a simple idea to grow veggies, but the joy in watching little green sprouts break ground and grow, grow, grow is incredibly satisfying. We can’t wait to reap the dinner table benefits from our hard work.

