
I had promised a blog post about this a few weeks ago, but alas, the holidays are a crazy time and that blog post is just now making its way to the site.
Let me tell you the back story to this project first. So, we have quite a few animals, and by quite a few I mean- 2 horses, 3 dogs, 3 cats, 8 chickens and fish. I wouldn’t normally count the fish, but they cost money too so they count. With these adorable children comes not-so-adorable pests- yes, fleas. We do everything right to rid our pets of fleas, but Savannah has the type of environment where they thrive. Long story short, it was time for us to rip up the carpet in our bedroom to rid ourselves of these pests.
The hard part- what flooring could we afford to put down that we would like and would stand up to our zoo? We decided faux wood tile. We even ordered samples. We chose one we liked, did the calculations and…. said nope. Right before the holidays, this floor project was just not happening. 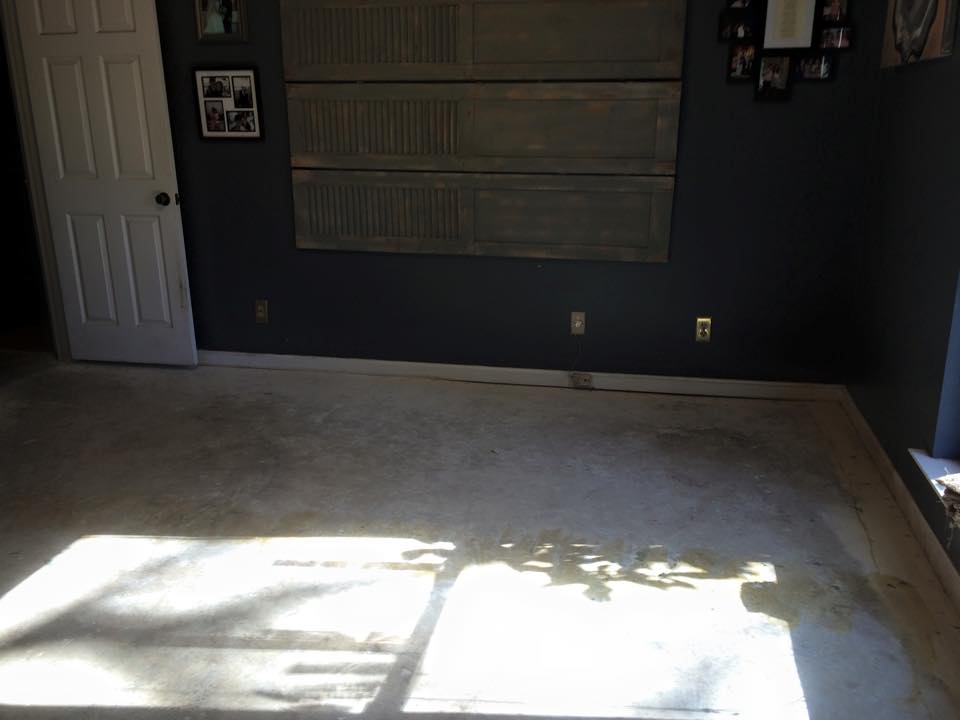
Well, my husband ripped up the carpet anyway. It had seen better days. Now we had a lovely (sarcasm), construction-site-looking floor. I’m all about industrial chic, but this was not it. Arthur said it would be fine, and we would put the tile down as soon as we could. I said, nope. I can’t live in a half-remodeled room. We decided to stain it.
That Sunday morning, off we went to Home Depot. I love the look of an acid stain on concrete, but it’s so much work and not safe for the animals during the process. So, we went with the Behr concrete stain and the wet-looking sealant. My husband picked out the color. They have so many choices, and the samples they have for you look NOTHING like the end result. We also bought a deck staining brush for the stain and a roller for the sealant. 
Like I said, I love the look of acid stained concrete floors, so rather than roll the stain on and have it all look uniform, I played with the stain. I really had an awesome time, and the whole project only took about 4 hours. I did it all by myself, after my husband moved the furniture out of the room. It was SO easy! 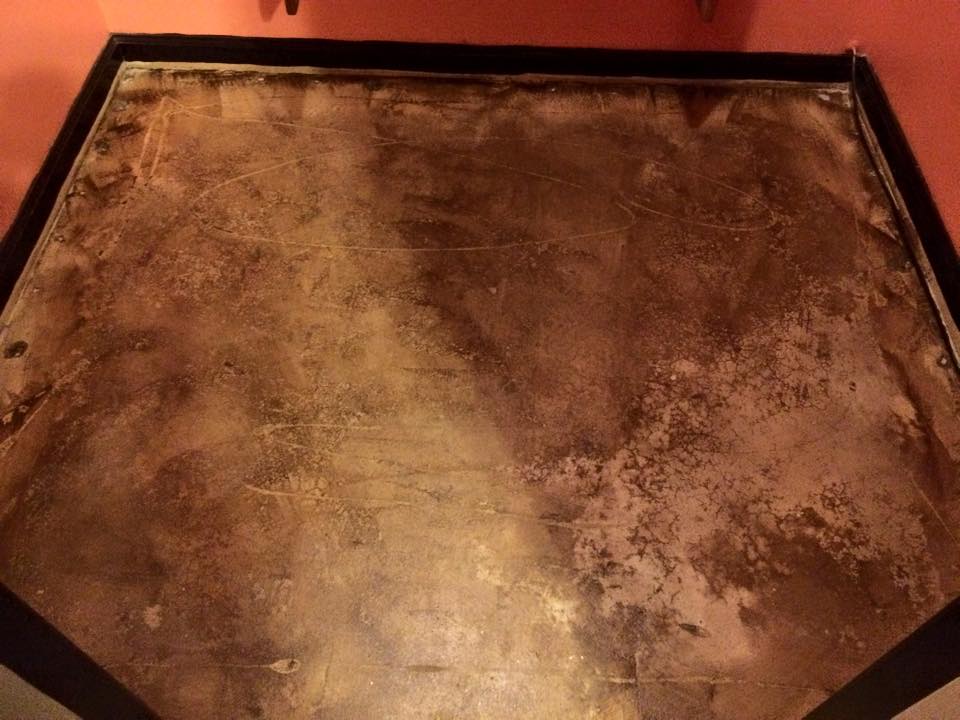 I slapped the decking brush against the concrete in some places while moving it in a circular pattern in others. I put a first coat on and before it was fully dried, went back and roughed up some areas and left other areas smooth. Then I put a second coat on using different patterns on top of patterns.
It may look like a mess to you, but to me, it looks like an art piece! The cool thing about it too is that the concrete has so many unique variations in it. Each section reacts differently with the stain like the whitish spot shown above that’s in my closet. Check out the pattern I did in the hallway. 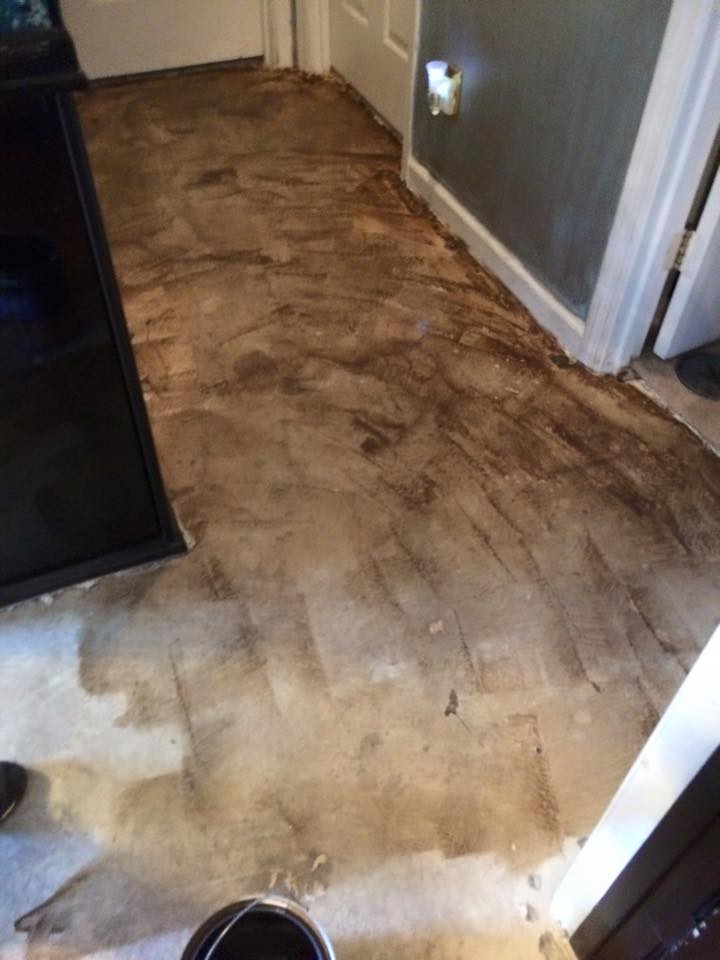

After the stain dried (about 1 hour), I rolled on the sealant. I chose wet-looking sealant so the floor would really shine. I feel like it completes the overall look. All in all, the project costs about $50.00 total, way cheaper than putting down any type of flooring. And, we LOVE it! Easy to maintain. Beautiful. And unique to us. 

 Let it dry completely for 24 hours, so be prepared to sleep elsewhere. Like the living room…
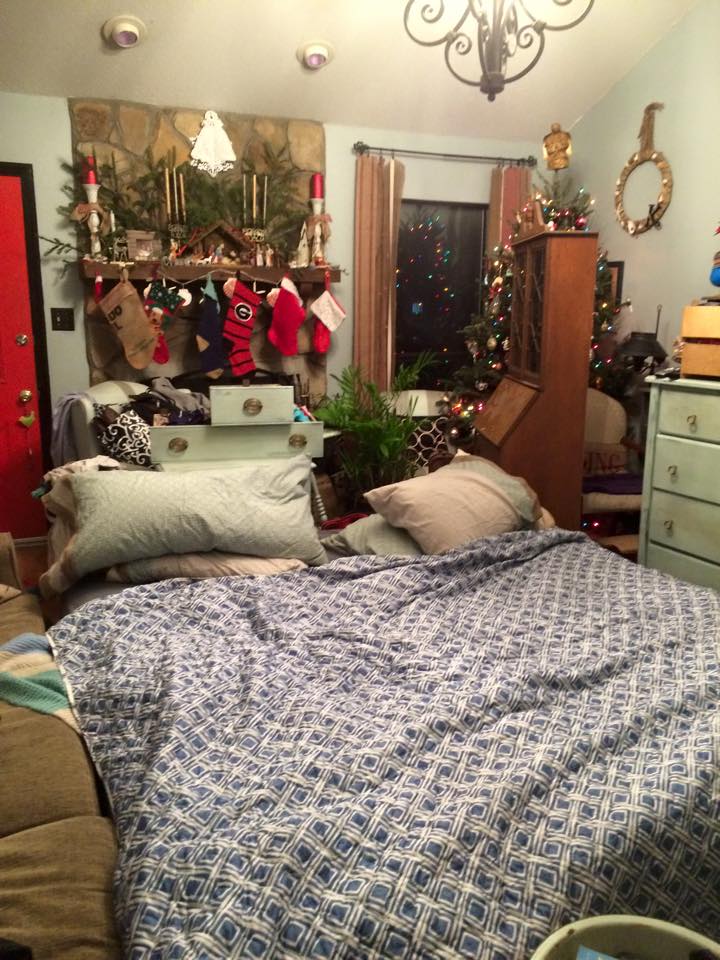
I hope you liked this post! Staining concrete floors are most definitely not as hard as you would think. If you have any questions, ask your hardware store guy. Ours helped out a ton! Good luck!

