
 Why hello there. It’s been quite awhile since we’ve written a post. Sorry about that. There are have been so many life changes in the past year that we honestly forgot about our cute little blog.
We’ll reintroduce ourselves with this fun little project we did right before Halloween this year but that still can be used for Thanksgiving decorations.
Ann got a few plain, white pumpkins when they were on sale at Michaels last year. They were cute, but we intended to add a little umps to them with color. 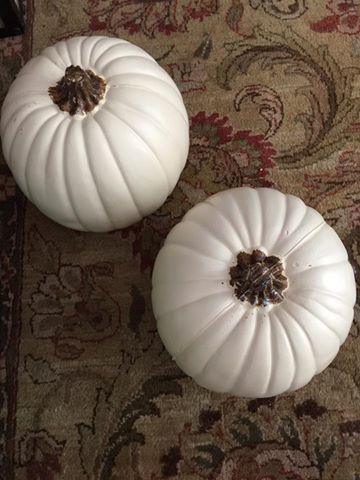
Now, we are certainly not the first to do this. We saw the idea on Pinterest and just loved it!
You’ll Need:
– Plastic pumpkins
– Some type of quick drying glue
– Crayons
– A drop cloth or box to do the project on
– A blowdryer
The How
Ann had leftover crayons from being a mom and an artist. They were all broken, but it actually works out better that way because a full crayon would have made too much wax I think.
- Glue the crayons on top of the pumpkin. This is where you can get a little creative with the colors. Think about what colors look good next to each other. I did one cool color pumpkin, one warm color, one rainbow and one just made of the crayons I had left (which turned out a little muddled). I tried to make a color pattern on each one.
- Once the glue has dried, it’s time for the blow dryer! This is the time you need a drop cloth or box under your pumpkin. I used a plastic baggy, and we had a waxy mess on the floors because it wasn’t big enough. I definitely suggest having the blow dryer on the ‘low’ setting to keep the mess down a little bit. There were a couple times that a crayon would fall off the pumpkin, and I had to pick them up and put them back on. Just an FYI, a melting crayon is hot! So, be careful. When I was happy with how much the crayons had melted, I put the blow dryer on ‘cool’ until the wax hardened.


And, that’s it! Literally the simplest project ever. I have thought about how the summer heat will probably affect them while they’re in storage. So, it’d probably be best to put them in an oversized box so none of the sides of touching in case of more melting.
This is the type of project you could do with the kids, and just have fun with it! 🙂

